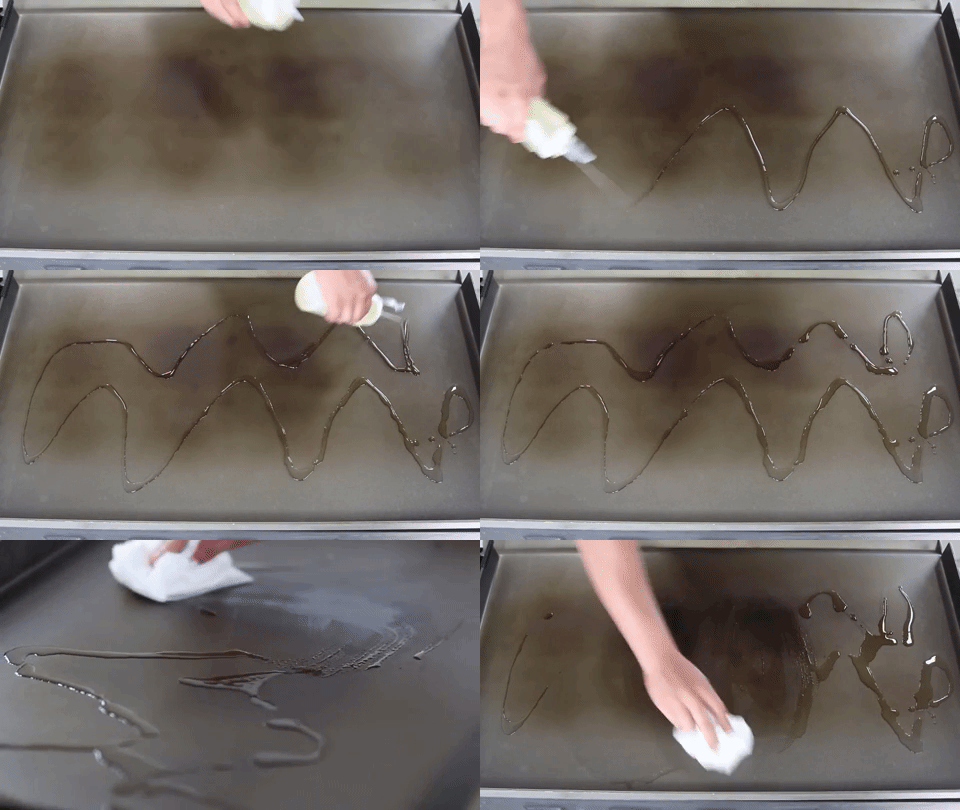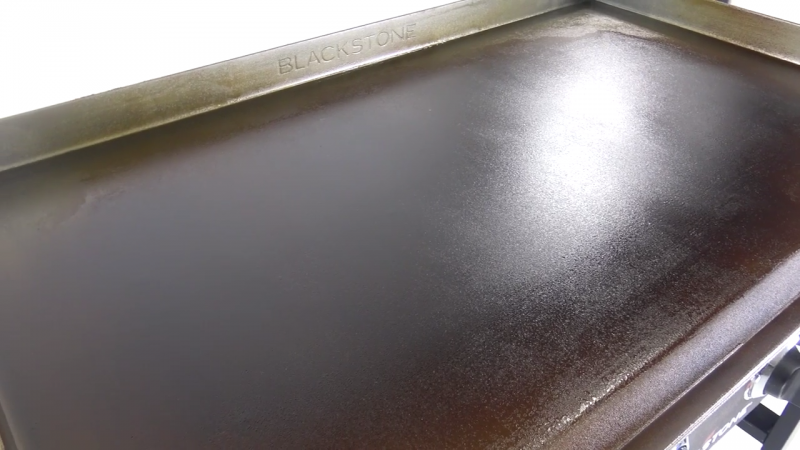
Love the beauty of a darkened griddle? We love it too, and we want you to make it right with this ‘all you need to know’ seasoning guide. Follow these steps, so you coat the griddle plate correctly and make your Blackstone last a lifetime. And why do you need to season your griddle? For one main reason - your food won’t stick on the metal plate and make a mess. Also, a griddle that’s grimy and full of sticky crumbs and stains ain’t pretty. Oh and don’t forget - seasoning adds a coat of oil that brings more flavor to every meal. It helps lock in the taste in all that seared meat n’ veggies. So take out your oil and let’s get your griddle blackened and seasoned to perfection!
What is Seasoning?
Seasoning is what makes a griddle last the test of time. It creates a blackened stick-resistant coating that doesn’t scratch and adds flavor to every dish. You’ll be tasting the meals as they are meant to be.Seasoning Your Griddle
Stuff You Need
Before you start your Blackstone experience by seasoning your Griddle, make sure you have all the items and supplies you'll need right by your side:- Bucket filled with water
- Blackstone Griddle Seasoning & Cast Iron Conditioner (or check our other recommendations on item #3)
- Heat-resistant gloves OR tongs
- Paper Towels
- Salt
- Soap powder
- Stick
#1 Sparkling Soapy Cleanse
Your Blackstone griddle has just been shipped in, and you’re ready for awesome cooking. But before you sizzle some steaks, you’ve got to clean it up with soap. This is just to remove any dust or debris from manufacturing and shipping.
It’s pretty easy to clean this baby up. Fill a bucket with water and add a little dish soap. Gently pour the soapy water on the griddle and then rinse with clean water.
#2 Pre-heat & make it dark!
After your new griddle is squeaky clean, it’s time to pre-heat and darken it up! This is where we transform the griddle top into a blackened, stick resistant cooking surface. So, turn on the burners to the max and let the heat do its thing. After 10-15 minutes, you'll notice the griddle top will start to brown. Once you see the color change, turn the burners off and move on to the next step.
#3 Dab it with oil
When you season a griddle, you create a natural stick-resistant surface that’s incredibly durable. What you're actually doing is burning off the organic compounds in the oil and leaving a polymer that bonds to your griddle plate. The one secret to remember is to only use a very thin layer of oil for each coat. A thick coat of oil during the seasoning process will lead to future chipping and a build up of sticky gunk on your griddle plate.

We highly recommend you use the Blackstone Griddle Seasoning & Cast Iron Conditioner (Available in stores or on our website). If you don't have the Blackstone Griddle Seasoning, other regular cooking oils will work. So now you're asking yourself "If other oils will work why recommend Blackstone's Griddle Seasoning"? Our experience has shown that our proprietary blend works incredibly well for your initial seasoning AND provides superior protection in between uses. Long-term protection was particularly important to us while developing our Griddle Seasoning to ensure you protect your investment and have an excellent experience griddling for a long, long time.
So, don't stress about what other type of oil to use. Make your pick among any of these oils and just remember "thin, multiple layers".
- Blackstone Griddle Seasoning & Cast Iron Conditioner (recommended)
- Canola Oil
- Flax Oil
- Vegetable Oil
- Shortening
- Olive Oil
#4 Fire it back up!
Now, turn the heat back up and sit back while you watch the griddle plate blacken. 
The griddle will billow with smoke. That’s called “smoke point” and it takes about 30 minutes for your Blackstone to get there. So relax, grab a seat, and watch the smoke fly by. When all the smoke is gone, you can turn off the griddle.
#5 Time for some extra rounds!
Like a boxing ring, it’s hard to knock out your opponent in the first round. Same goes for the Blackstone and the tension between the oil and steel. One round ain’t gonna cut it. To make the best non-sticking and tasty surface your meals deserve, you’re gonna have to repeat the seasoning. So be patient and make it count. Grab your oil again, dab it on the griddle, and watch the heated smoke-fest again. You should stop when the griddle plate is dark brown, and that takes around 2 to 3 times.#6 Final touches
Once you’ve completed 3-4 rounds of initial seasoning, let your griddle cool slightly and wipe it down with a final layer of Blackstone Seasoning & Cast Iron Conditioner or the Blackstone Non-Stick Griddle Spray. This protects the griddle against oxidation. Now you’re done and your griddle is freshly seasoned! Make sure your griddle can last the test of time with a heavy-duty cover. Resists the weather and avoids rust.Ok, I just seasoned and cooked on my Griddle. When should I season up this baby again?
After your initial seasoning, just cooking on your griddle will add to the seasoning layer. Now, in between cooks, you can use the Blackstone Griddle Seasoning and Cast Iron Conditioner or the Blackstone Non-Stick Griddle Spray to protect your griddle. This maintains a perfect coating that makes tasty food that won’t stick to the metal. Now just store it safely and call it a day! For any other questions or tips, take a look at our How to Take Care of Your Griddle Complete Guide.Do you have any seasoning secrets? Tell us your tips in a comment below.


